Sunday, March 29, 2015

The Xerces Society’s Bring Back the Pollinators Campaign and Bumble Bee Watch

Last year my garden qualified as an official Monarch Waystation. This year I am working to help even more of our pollinator friends. Many pollinator populations are in decline, including bees and monarchs. You can help the Xerces Society’s “Bring Back the Pollinators” campaign by signing their Pollinator Protection Pledge. The Xerces Society is “a nonprofit organization that protects wildlife through the conservation of invertebrates and their habitat.” By signing this pledge you are committing yourself to doing the following things:

1. Grow a variety of bee-friendly flowers that bloom from spring through fall.
2. Protect and provide bee nests and caterpillar host plants.
3. Avoid using pesticides, especially insecticides.
4. Talk to my neighbors about the importance of pollinators and their habitat.

I signed the pledge today. I already do most of these things. The one thing I am lacking in is providing nesting for bees. That is something I will work on this year. 

I also signed up for a Citizen Science project called Bumble Bee Watch, which is a collaborative effort to track and conserve North America’s bumble bees. It’s easy to become involved: just sign up online, then take photos of a bee, upload them, use their key to help identify it, and note the location where you saw the bee. I already take lots of bee photos every year, so now I can use those photos for a good cause. 


Book: “Nomads of the Wind” by Ingo Arndt, Claus-Peter Lieckfeld, and Peter Huemer

The full title of this book is “Nomads of the Wind: The Migration of the Monarch Butterfly and Other Wonders of the Butterfly World.” The copyright is 2008 and I’m not sure it is still in print, however, you can find it through Amazon or Barnes and Nobles’ affiliates on their websites.

I learned about this book when I went to the monarch tagging demo as part of the Monarch Monitoring Project in Cape May. (See my blog post about the demo.) During the talk and demo, they were showing photos from this book. I just had to have it.


You may be tempted to keep this as a coffee table book, but that would be an injustice. This book reads like a butterfly adventure story, taking you through the life of Monarch 148 and then 148a and 148b, helping the reader to understand the magical life cycle and amazing migration of the monarchs. The timeline along the left of each spread helps you to follow along the butterfly’s journey. Along this journey, you learn fascinating facts about monarch butterflies. The glorious photography of Ingo Arndt bring to life the long trek and perils along the way.


The book begins with Monarch 148 emerging from her chrysalis in the Richard Bong State Recreation Area, south of Milwaukee, Wisconsin. 148 faces many obstacles along her southern migration to Mexico: spiderwebs, rain, hungry birds, lack of food (nectar) make it a struggle to survive. Why go on this perilous journey? Monarchs can’t survive cold winters. Other butterflies can overwinter as larvae, pupae, or even as adults, but monarchs must fly south, like many birds. They are the only butterfly known to make a two-way migration.


These small insects are more hardy then they look. They fly hundreds of miles to reach their winter destination in Mexico. One thing that helps the monarch survive on this long trek is their orange color. This color means danger or poison to many predators. Monarch caterpillars feed only on milkweed leaves and therefore are impregnated with Cardenolides, so predators should heed that warning.   

How do these butterflies know where to go? There is much debate about that, however the earth’s magnetic field may play a roll. Millions of monarchs end up in the Transvolcanic Mountains of Michoacán in central Mexico every year. Why this particular place? And why specifically on Oyamel firs? That is still relatively a mystery.


In 1992, almost the entire population of one of the largest monarch colonies was killed by a cold front. Masses of butterflies lay dead at the feet of the Oyamel firs. 

As spring arrives and their bodies are warmed by the sun, the monarchs head back north, following a different route than when they flew south. Their purpose is to mate and find millkweed to lay their eggs. Just milkweed. No other plant will do. As mentioned before, milkweed is what makes them toxic to predators. They lay one egg per leaf and not more than a few on each plant, so several milkweed plants are needed.

Monarch 148 does manage to lay her eggs before meeting her demise. I will not spoil it by telling you how she dies. Monarch 148 never makes it all the way back up north. It is up to her offspring to do that.

148a is born as a black, white and yellow caterpillar. The main goal of the caterpillar is to eat fast and furious.


Once the monarch caterpillar gets big enough, he starts to molt. That is the sign to stop feeding and to find a place to attach himself to form his chrysalis. This is where the magic happens. This worm-like creature with mouth-eating parts turns into a winged beauty with a proboscis for drinking its nourishment.


When he emerges his goal is to finish the return trip north-east that his mother didn’t finish. It is the same goal for all other monarchs of his generation. He will mate along the way and 148b will be born. And so on and so on. What is truly amazing is this same flight plan south in winter and north in spring is an ingrained part of every monarch’s life.

The last few pages of the book are about other butterfly wonders. Some interesting photos and info there, but really the bulk of this book is about the monarchs.

I loved this book. Not only are the photographs incredible, but it’s a fun read. It gives a real glimpse into the life of monarch butterflies and is not a story you will soon forget. It is a reminder of how remarkable these little creatures are.

Monarchs are important pollinators, and like bees, their numbers are in decline. They are close to being on the endangered list and we need to do what we can to help. One easy way to help is to plant a garden, and in particular, plant milkweed. This is a photo of milkweed pods that I took when I was in Cape May last summer...


I planted milkweed in my yard last year and plan to plant more this year. As mentioned above, the monarchs really depend on more than one milkweed plant for laying their eggs.

If you want to learn more about the amazing migration of monarchs, check out the Nova video “The Incredible Journey of the Butterflies.” Beautiful footage and great to watch while reading “Nomads of the Wind” book.

To learn more about monarchs and what you can do to help:
MonarchWatch.org
Monarch Joint Venture
US Fish & Wildlife: Save the Monarch Butterfly


Saturday, March 28, 2015

Kitchen Garden in 2014

I am not normally a meticulous record-keeper or planner when it comes to my garden, however, I am when it comes to the Kitchen Garden. I only have a few established perennials, so most of it is planted as seeds or plants each year. As I started working on my plan for this year, I realized I never updated my map and notes from last year.

Here is my map of the Kitchen Garden from last year. Red indicates what I planted as plants, blue indicates what was planted as seeds, and black is perennials.


I know that map is really hard to read, but I think if you click on it you can see it at least a little larger. Here is a copy of the notes at the bottom of the maps.

Spring notes:

Things that did well:
Red Rubin Basil, Sweet Basil, Sorrel, Garlic Chives, Bright Lights Swiss Chard, Alaska Nasturtium, Curly Parsley, Cut & Come Again Zinnias, Radishes, Pink Gomphrena, Turnips, Sugar Crunch Cucumbers, Arugula, Caesar’s Favorite, Gourmet Leaf Mix, Sunchocola Tomato, Cilantro

Things that did NOT do as well:
Sweet Tweety Pepper (got 1-2 peppers), Mariachi Pepper, Cherokee Purple Tomato (got a few late in the season, but had split on bottom), Beets, Ground Cherry (got a small plant or two), Merlot Lettuce did ok but not great, Spinach, Mammoth Dill, Love in a Mist (got a few, but not much), Artichoke

Late Summer/Fall notes:

Things that did well:  Bright Lights Swiss Chard, Alaska Nasturtium, Red Rubin Basil, Sweet Basil, Curly Parsley,  Cut & Come Again Zinnias, Spinach, Pink Gomphrena,  Kale Redbor, Joi Choi Pak Choi, Escarole

Things that did NOT do as well:
Leeks, Graffiti Cauliflower, Superdukat Dill, Sweet Tweety Pepper (got 1-2 peppers), Mariachi Pepper, Cherokee Purple Tomato (got a few late in the season, but had split on bottom), Ground Cherry (got a small plant or two), Artichoke

Now that I finally updated my notes and maps from this year, I can start mapping out for this year.


Monday, March 23, 2015

My “Save the Pollinators” Website Project

I have spent the last couple of years working on a web design certificate while also working full-time. It was tough getting used to doing homework again after so many years of not having it (I won’t admit to how many). I am in my final class for my certificate. For our first project this semester, we got to choose what we wanted to do. It could be anything as long as it was responsive (meaning the design would conform to the size or your browser window or viewport, such as tablet or phone). I was so inspired by the book I have been reading, “The Xerces Society Guide – Attracting Native Pollinators: Protecting North America’s Bees and Butterflies,” and Disney Nature’s “Wings of Life” movie (which I watched either on Netflix or OnDemand), that I decided to call my project “Save the Pollinators.”


My website consists of four pages: Home, Importance of Pollinators, Presenting the Pollinators, and How You Can Help.


I am still working on the text, much of it is Greeked in right now, but you still get the general idea. Click here to check out the work in progress. I am thinking it would be pretty awesome to make this an real website some day.


Saturday, March 21, 2015

Tool Cleaning and Sharpening Time

Yesterday was the first day of spring and it snowed about 5 inches. What a cruel joke. Today it is warming up fast, going up into the 50s, and you can actually see and hear the snow melting outside. There is this constant sound of snow dripping and falling out of the trees and off the roof. It’s as if Mother Nature is saying, “Oh no you don’t, Old Man Winter, it’s MY time now.” The birds are singing a happy song in spite of the snow on the ground because they know spring is on its way. Time to get ready. That means tool cleaning and sharpening time.

I always intend to clean and sharpen my gardening tools more often, yet somehow never manage to do it more than once a year. I need tools that thrive on neglect. As mentioned in my previous post, my Oxo Good Grips Gardening Trowel is one of them. My Fiskars forged pruners are another, so far. I think I bought them in 2012 or 2013 and they have been holding up well despite my neglect. They sure as heck ain’t pretty right now, though.


In April of 2013 I wrote a blog post about how to mistreat your pruners. That gives you an idea of what pruners that belong to me have to go through. You would think I would take better care of my gardening tools because they are so important to me. But by the time I’m done my garden work for the day, I’m tired and dirty and just want a cool shower and a clean pair of clothes. Cleaning and sharpening my garden tools are the last thing on my mind.

I will digress here a bit and mention that I have yet to declare my Fiskars Forged Bypass Pruners as a “Favorite Tool” yet for one, and only one, reason. That is because the handles really could use more padding. I would love it if the handles were the same kind of material as the handle on my Oxo Good Grips Gardening Trowel. Then they would be absolutely perfect. I should probably mention that, according to Amazon, these pruners are discontinued by the manufacturer. How depressing. They do still have some in stock, though.

So how do you clean a pair of pruners that have suffered as much as mine and are covered in rust, dirt, and sap? Bar Keepers Friend, my friend, and some steel wool. (I have Brian to thank for the Bar Keepers Friend. He uses it with his homebrewing equipment.)


It took a lot of scrubbing and elbow grease, as well as some Brillo Pad action, but they did get better. Not perfect, but still plenty usable, even though not fabulously gorgeous. One can’t expect perfection, though, when one has been through so much use and abuse. Besides my bare hands for weeding, my pruners are the most used tool I have.


While I was at it, I cleaned up some of my other gardening tools. The snippers I use for trimming herbs and boxwood, as well as roses from time to time, and for cutting cucumbers, tomatoes or squash from the vine. The scissors are used when cutting twine to tie up floppy plants.


Next comes sharpening and oiling. I use Felco oil spray and a Felco sharpening tool, even though I no longer really use my Felco pruners. The spray helps keep the moving parts working smoothly and easily.


I do still have my No. 7 Felco pruners and use them on occasion, however, I find them very frustrating. For what is supposed to be the top-of-the-line product, I find them to be uncomfortable and unreliable. After a few times using them, they start to fall apart and need constant tightening. Also, the rotating handle, which is supposed to be more ergonomic and help prevent strain, is really just plain old annoying. It seems to always be turned or stuck in the wrong direction. So I give them a thumbs-down, I hate to say. My forged Fiskars are tons better. Just could stand to be a bit more comfortable.


So now my tools are ready for spring!

Footnote: I did notice that Oxo makes a pair of bypass pruners. They might be worth trying. I am so happy with the durability of my Fiskars forged ones, though, that they would probably have to break in order for me to want to try another pair of pruners. 


Favorite Tools: Oxo Good Grips Gardening Trowel

I was cleaning my gardening tools (which I should really do more than once a year) and it made me remember how much I love my Oxo Good Grips Gardening Trowel.


While I had to scrub to get my other tools clean, my Oxo Good Grips Gardening Trowel was clean with a quick rinse and light rub. Looking at it, you might think it is fairly new. Au contraire, I have had this trowel for as long as I can remember. I will fully admit that I don’t take great care of my tools either, and have, on occasion, been known to leave one laying about only to get rained on. Despite my neglect, this tool is still in amazing shape.

The handle curves upward and has a smooth, rounded, cushioned handle. You would think the handle would’ve broken down over time or shown more sign of wear, but it has really stood the test of time and is as comfortable to use now as it was when I first got it.

The stainless-steel blade is pointed so that it cuts into heavy soils easily. I find the serrated edges incredibly useful for cutting through thin roots, as well as for cutting open bags of potting soil or mulch.

Just to make it even more useful, there are measurements on the blade. This is great for when you are planting seeds or bulbs.


I honestly don’t think I would ever find a better gardening trowel. This is the end-all-be-all, as far as I’m concerned. I would marry it if I could. Ok, maybe not, but I would never be without it, that’s a definite.

Monday, March 16, 2015

Let the Thaw Begin

Less than two weeks ago, the garden looked like this...


and this...


Then the thaw began and it started to look more like this...


and Puss, my neighbor’s cat, said it was a good thing winter was finally coming to an end. February was brutal. So brutal it made us forget that this winter was pretty mild before that.

The snow has melted and the temperatures are finally getting above 30. Spring begins on Friday, and it brings it’s usual sense of excitement and wonder as all of those living things stretch their green leaves and awaken. It is magical to think the green wonder of spring was hiding under that blanket of snow. Now we get to see it.


The Hellebores are budding, as are a few of the daffodils that are close to the house.


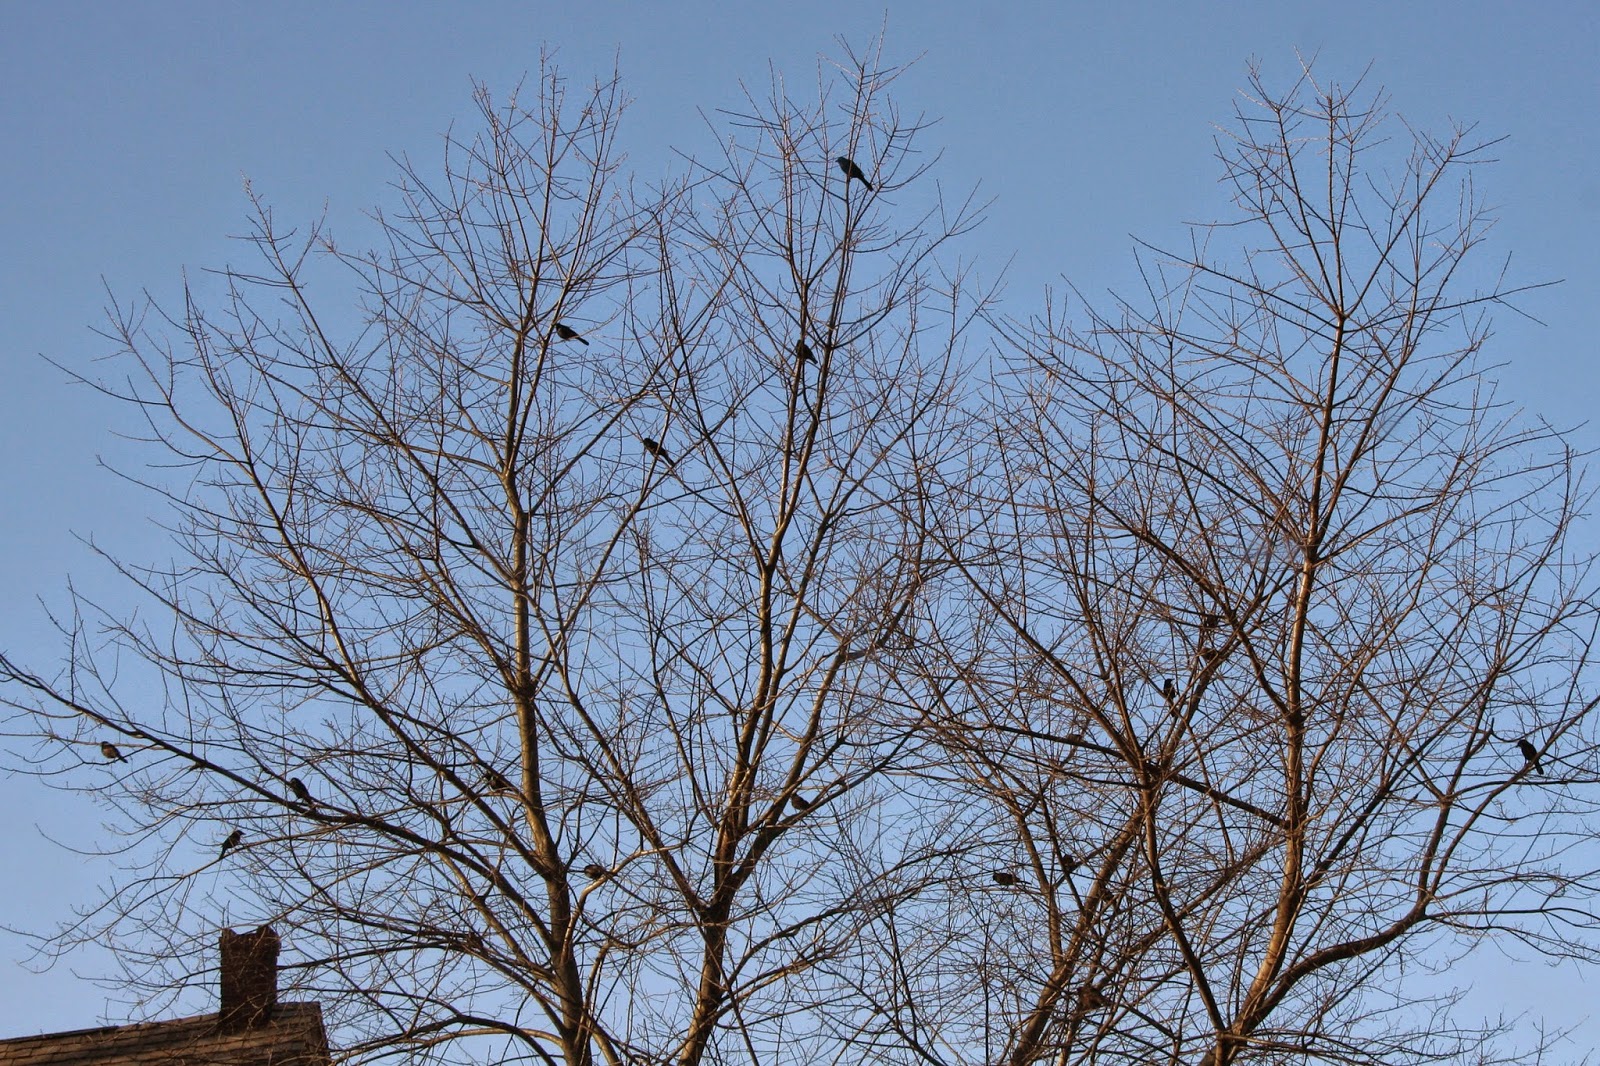
The grackles have come. In droves, or flocks, or whatever you call a huge gaggle of grackles. I saw seven of them perched precariously on my bird feeder the other day. They scour the ground, tossing leaves in the air with the beaks, searching for tiny, tasty morsels, not caring what mess they leave behind. They show up every spring and don’t seem to care if I’m in the yard or not. One time I was crouched in the garden weeding and looked up to find myself surrounded by grackles. It was like a scene out of my favorite Hitchcock movie, “The Birds.”


It is time for the garden’s spring cleaning...once this ground dries up a bit. Better get my wellies out because there’s lots to do. Pruning, weeding, seeding and dividing are all on the to-do list in the upcoming weeks.


Still working on that plan for the kitchen garden, too. Better get my butt in gear because spring is almost here!

Sunday, March 1, 2015

Kokedama Class

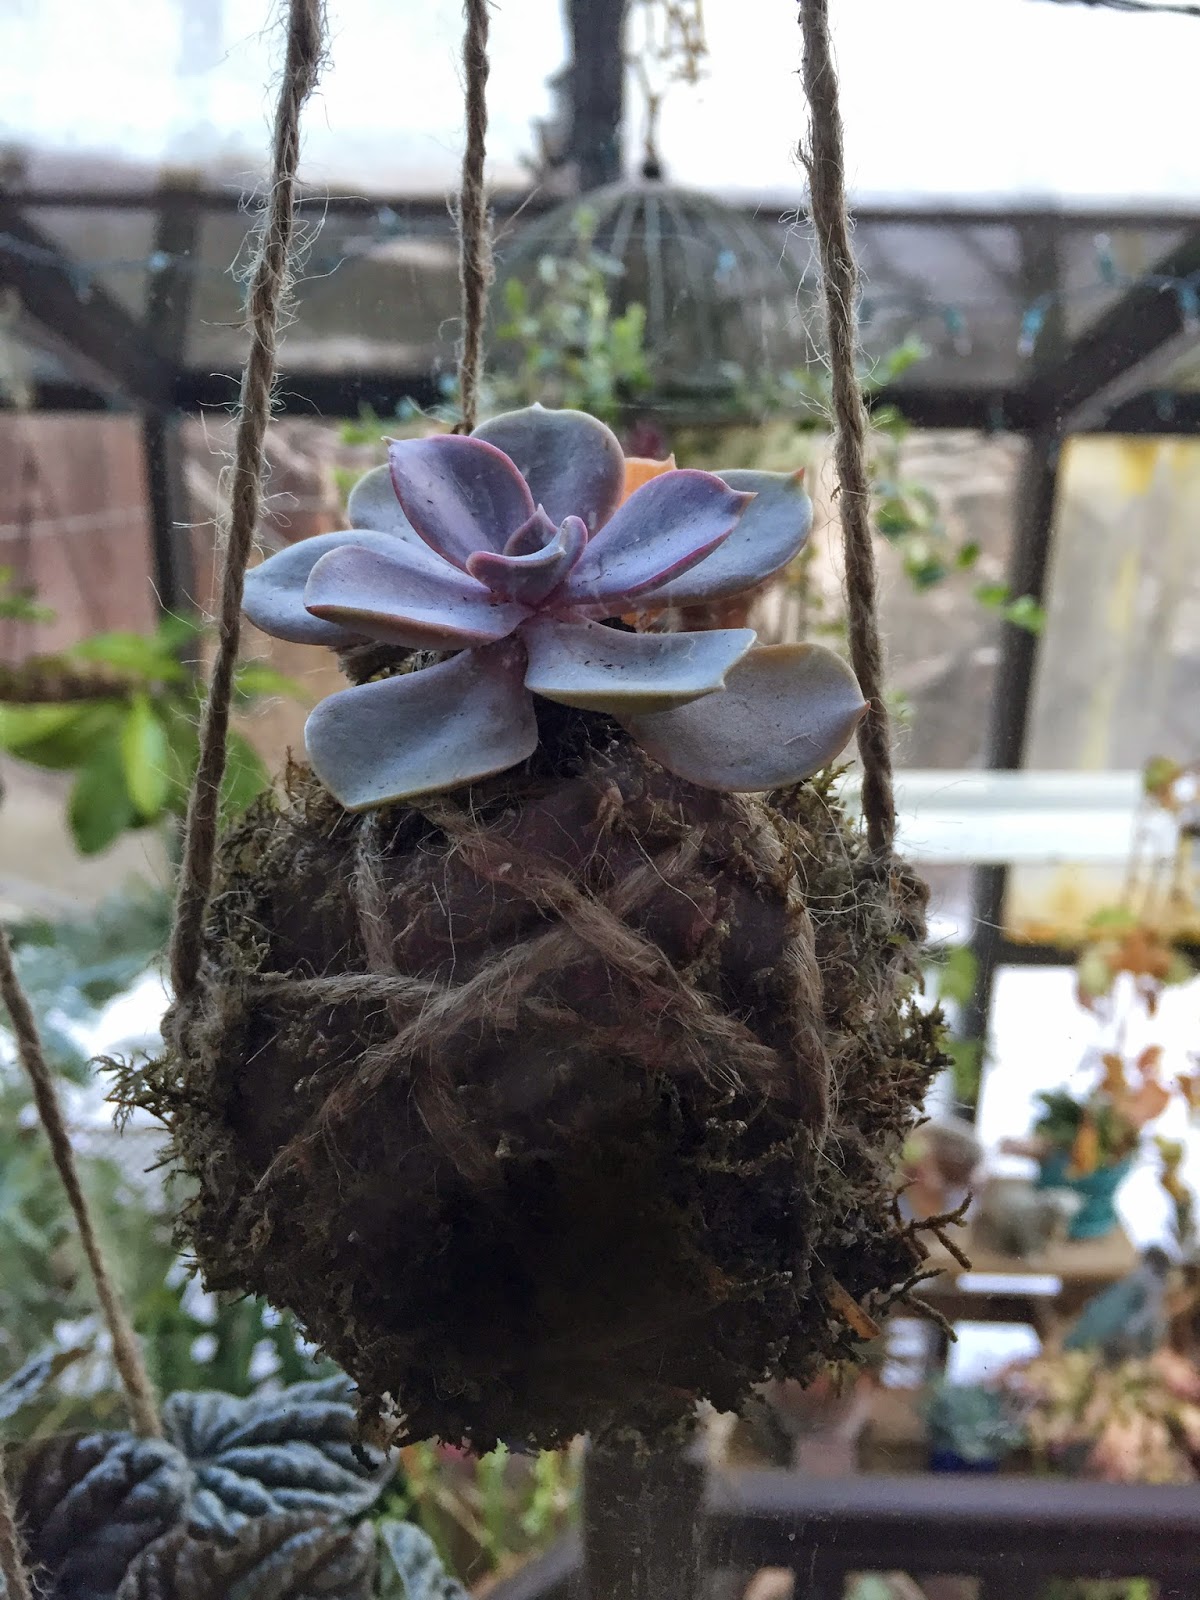
Yesterday I took a class at Longwood Gardens called Kokedama String Gardens. The Japanese word “Kokedama” means “moss ball.” Moss balls can sit in a dish or be strung up to hang. In class we learned how to construct a moss ball and hang it.


The class was taught by Longwood Senior Gardener Lauren Hill. Lauren’s infectious personality made for a fun class. It was like combining arts and crafts with gardening. I loved it!

Kokedamas do not live very long, maybe a year or two, due to the small area for the root system, as well as due to the fact that these moss balls dry out quickly. Plants that do best in this situation are ones that can take it on the drier side.

The plants we used in class were (left to right) Peperomi caperata (Peperomia), Echeveria (Mexican Hens and Chicks), and Phalaenopsis hybrid (Moth Orchid). Some people had Hoya carnosa ‘Tricolor’ (Wax Plant) instead of the Peperomia.


Here are the steps we followed in class to create our Kokedama:


STEP 1: Take the plants out of their pots and take most of the soil off and loosen the roots.

STEP 2: Form a soil ball using a wet soil mix. Squeeze out excess water. Lauren had prepared the wet soil mix ahead of time: a half and half mix of field soil (referred to as garden soil if you are looking to buy it in a bag at your local nursery or box store) and potting mix soil. The garden soil is denser and helps the soil hold together in a ball form.


STEP 3: Open up the soil ball using your thumbs and then nestle the plant in and reform the soil ball around the plant’s roots. (This is trickier than it sounds and messy, too!)

STEP 4: Spread out a “sheet” of moss on the table, put the soil ball on top and then wrap the ball like a package with the moss. Leave some soil at the top where the plant is to help with watering. Any type of moss will do as long as it isn’t in pieces and is more like a sheet of moss stuck together.

STEP 5: Cut a long piece of string and wrap it around the soil ball. Leave a long enough piece at the beginning so you can use that to tie it. Be sure to wrap all sides and the bottom of the ball enough to hold it together, then tie tightly.


STEP 6: Trim up any loose moss hairs that are sticking out.

STEP 7: At this point you can leave it as is and use it in a dish as a table decoration or you can tie it for hanging. I tied mine for hanging. Some people created a type of hammock out of the string and others, like myself, cut two or three separate strings to attach to the strings of the ball. Those three strings are then tied together at the top and attached to another looped string for hanging.

STEP 8: Hang your Kokedama and enjoy it! It is best to hang them on a hanging plant hook or S hook so you can easily remove them for watering. Kokedamas seem to look best in groupings of three hung at different lengths. For now I have mine hung in one of the greenhouse windows, where I can see it from the family room. I wish I could hang these in the bay window of the family room, but am too afraid my cats would think they were cat toys!


STEP 9: To keep your Kokedama living as long as possible, they need to be soaked in a bucket of water with a small, diluted amount of house plant fertilizer once a week.

I have so much fun learning new ways of working with plants. From Kokedama class to crevice gardening, vertical gardening, and carnivorous plants classes – they all sparked a new interest and fun way of gardening for me. Can’t wait to try some of these on the front and back porches in the warmer weather. Seems like a fun and different way to display some interesting annuals or succulents come spring and summer. Can’t wait!


For some fun Kokedama ideas, check out Pinterest. Or Google “Kokedama” to find some online tutorials.