Showing posts with label greenhouse. Show all posts

Sunday, May 1, 2016

Greenhouse in January

Well, at least I am finally on 2016, even though I am still behind with my posts. It’s progress, right?

My Candelabra Aloe (Aloe arborescens) blooms in the winter every year. It is something I look forward to. 

 
I have been talking about needing to repot it for at least a year now. It is way too big and unwieldy for the pot it is in. It actually fell on top of me when I was in the greenhouse watering one day.


I am ashamed to admit that I bought this hanging basket of succulents from Home Depot, or maybe it was Lowe’s, about two years ago. It still looks great!


Jade and succulents in a vertical planter.


Kokedamas that I made last year are still looking nice. I have these in the window by the door so that I can see them from the family room.


Monday, April 27, 2015

Planning and Prepping the Kitchen Garden

April is crazy-time. It is the busiest month of the year for this gardener. Clearing out garden beds, weeding, pruning shrubs and roses, planning the Kitchen Garden, buying seeds, adding compost to the raised beds, and planting seeds in the greenhouse and under the row covers in the Kitchen Garden, just to name a few chores. This also was a busy month for me outside of the garden this year – working overtime, running weekly meetings, and reading a book for a weekly book club at work, plus taking the last of my classes for my web design certificate, doing reading for that, and working on my final project, which was due last Thursday. (After two years of night classes and homework, I officially get my web design certificate this Thursday – wahoo!) Needless to say, I am running behind on my April garden chores.

I was sketching out, erasing, sketching out again, my Kitchen Garden map for 2015. I often show the end result of this map, but never how it starts. Below is how it begins: I print out a map of the shape of the beds (top part is spring, bottom part is fall) and using a pencil and eraser I start fleshing it out. I write notes about what I need to buy, what I already have, use symbols for perennial or annual, write down the plant height, and indicate what I will plant as seeds and what will be plants that I buy. What does the chopstick have to do with anything, you ask? I mark a chopstick with 1/4", 1/2", 3/4", and an inch and use that to poke holes in the soil at the correct depth, or use it to score a row in the soil at the write depth. I have plenty of extra chopsticks from all of my take-out sushi nights (mmmm....sushi...).


This year I went mostly with organic seeds. I figure that I garden organically, so organic seeds probably have the best chance in my beds. Plus, it just feels right using organic. The bulk of my seeds are from Hudson Valley Seed Library and Seeds of Change. I really like what these two companies are all about and it feels good supporting them. I’m often a Burpee girl, but only one from them this year – the Alaska Nasturtium that did so well last year.


I keep my seeds in a plastic container. I separate them out by what I need to start indoors and what I can plant outdoors under my row covers, and this year I also had one that needed cold stratification (milkweed). They get put in baggies that are marked with the year and where they get started.


Some seedlings in the greenhouse include Doe Hill Pepper and Starflower, both from Hudson Valley Seed Library. The milkweed is also in the greenhouse since it has finished its three weeks of cold stratification in the fridge. Now sprouts on that yet, though. I use APS systems from Gardener’s Supply Company for growing my greenhouse seeds, as well as their organic seed mix. I just have an ordinary florescent overhead light that I use. I have plans to go more “professional,” or at least less amateurish, at some point, just haven’t gotten around to it yet. This system seems to work ok, though.


I planted my seeds under the row covers in the Kitchen Garden this past weekend – one to two weeks later than usual. In my defense, it has been a very cold spring making it tough to get started on things too early. But if I was to be really honest, I was behind with it due to my hectic schedule.


Spinach that I had planted last fall miraculously survived the bitter cold winter and is thriving (even more so now than in this photo I took a couple of weeks ago). I planned around the spinach.


The Sorrel is also looking great right now. It is a perennial and seems to like the chilly spring weather. I absolutely love the flavor of Sorrel. Really nice added in a salad.


For the seeds under the row covers, all I need to do at this point is keep them watered. Nature takes care of the rest. I won’t remove the covers until Mother’s Day weekend. We sometimes get frost up until that weekend, so that has become my annual indicator that it is time to uncover what will be seedlings or small plants by then. Can’t wait to be able to harvest some things! Although first I need to use up some of that Spinach and Sorrel!


Friday, April 17, 2015

Milkweed for the Monarchs

I have posted several times about monarchs and the need to do what we can to help protect them and provide a habitat for them. I added milkweed to my garden last year and my garden is a certified Monarch Waystation. More milkweed is needed, though, so I started some seeds a few weeks ago.

My seeds are Asciepias syriaca from Hudson Valley Seed Library. Cold stratification is required for these seeds. That means they need cold, moist conditions in order to encourage germination. To achieve this, you could plant the seeds outside in the fall or early winter, or if you are busy like me and tend to have too much fall clean-up to do to plant much, you can wait until spring and do artificial cold stratification. Got a fridge? Then you can do artificial cold stratification.

The instructions call for deep pots, so I actually used some plastic cups and punched holes in the bottom. I use Gardener’s Supply Germinating Mix for all of my seeds. I have had a lot of success with their mix. I mixed it a tubtrug with water until it was damp. I use chopsticks to poke holes in the soil and mark the chopsticks with measurements so that I plant at the correct depth. The plastic cups are placed inside a baking dish that is lined with a wet paper towel. Every so often I pour more water into the dish to keep it damp. The cups are covered with plastic wrap that is held on with rubber bands. (To be honest, I just made up this process and assume it will work.)


This has been living in my refrigerator for almost three weeks now.


On Monday I will take them out and move them to the greenhouse. Then, assuming they do well, I can move them outside after the last frost date. Fingers crossed I get some nice milkweed plants this year. Gotta help those magnificent monarchs!

Spooky Spider

About a week ago I spotted this really spooky spider on one of my plants in the greenhouse. I literally screamed when I saw it. From the tip of its top leg to the tip of its bottom leg it was at least 4 inches long, if not more.


Notice how it has these things protruding from its head?!?! Eeek! And such an odd-shaped body with enormously long legs. My first thought was, I hope this isn’t poisonous. My second though was, where the heck did this thing come from?! I have never seen a spider like this before in my yard or in my greenhouse.

My co-worker  Doug, does a lot of magical macro photography of insects and has an affinity for spiders. Check out his instagram and his flickr page. Seriously gorgeous stuff there. I thought maybe he could identify this spider, but he couldn’t. I asked him to come photograph it and take it home with him, but he didn’t think it had an interesting enough face. :o) I said I was worried it was poisonous and he said he doubted it and to let it stay in the greenhouse to take care of any bad insects that might be in there. Good idea, Doug. So that’s what I did. I decided if he was going to stick around, he needed a name. I named him Sid because his long, spiky legs made me think of the spiky hair of Sid Vicious.

Admittedly, ever since I first spotted Sid, I kept an eye out for him because he really creeped me out. I would look for him every night when I went into the greenhouse to check on my seeds. He stuck to the same plant for a couple of days, then I couldn’t find him. Did he crawl his way over to some other plant? Did he die? What is the life span of a spider anyway? I still look for him every time I go in there. Sid, I think I kinda miss you. If you did die, I hope you had a nice life in my greenhouse.

Sunday, March 1, 2015

Kokedama Class

Yesterday I took a class at Longwood Gardens called Kokedama String Gardens. The Japanese word “Kokedama” means “moss ball.” Moss balls can sit in a dish or be strung up to hang. In class we learned how to construct a moss ball and hang it.


The class was taught by Longwood Senior Gardener Lauren Hill. Lauren’s infectious personality made for a fun class. It was like combining arts and crafts with gardening. I loved it!

Kokedamas do not live very long, maybe a year or two, due to the small area for the root system, as well as due to the fact that these moss balls dry out quickly. Plants that do best in this situation are ones that can take it on the drier side.

The plants we used in class were (left to right) Peperomi caperata (Peperomia), Echeveria (Mexican Hens and Chicks), and Phalaenopsis hybrid (Moth Orchid). Some people had Hoya carnosa ‘Tricolor’ (Wax Plant) instead of the Peperomia.


Here are the steps we followed in class to create our Kokedama:


STEP 1: Take the plants out of their pots and take most of the soil off and loosen the roots.

STEP 2: Form a soil ball using a wet soil mix. Squeeze out excess water. Lauren had prepared the wet soil mix ahead of time: a half and half mix of field soil (referred to as garden soil if you are looking to buy it in a bag at your local nursery or box store) and potting mix soil. The garden soil is denser and helps the soil hold together in a ball form.


STEP 3: Open up the soil ball using your thumbs and then nestle the plant in and reform the soil ball around the plant’s roots. (This is trickier than it sounds and messy, too!)

STEP 4: Spread out a “sheet” of moss on the table, put the soil ball on top and then wrap the ball like a package with the moss. Leave some soil at the top where the plant is to help with watering. Any type of moss will do as long as it isn’t in pieces and is more like a sheet of moss stuck together.

STEP 5: Cut a long piece of string and wrap it around the soil ball. Leave a long enough piece at the beginning so you can use that to tie it. Be sure to wrap all sides and the bottom of the ball enough to hold it together, then tie tightly.


STEP 6: Trim up any loose moss hairs that are sticking out.

STEP 7: At this point you can leave it as is and use it in a dish as a table decoration or you can tie it for hanging. I tied mine for hanging. Some people created a type of hammock out of the string and others, like myself, cut two or three separate strings to attach to the strings of the ball. Those three strings are then tied together at the top and attached to another looped string for hanging.

STEP 8: Hang your Kokedama and enjoy it! It is best to hang them on a hanging plant hook or S hook so you can easily remove them for watering. Kokedamas seem to look best in groupings of three hung at different lengths. For now I have mine hung in one of the greenhouse windows, where I can see it from the family room. I wish I could hang these in the bay window of the family room, but am too afraid my cats would think they were cat toys!


STEP 9: To keep your Kokedama living as long as possible, they need to be soaked in a bucket of water with a small, diluted amount of house plant fertilizer once a week.

I have so much fun learning new ways of working with plants. From Kokedama class to crevice gardening, vertical gardening, and carnivorous plants classes – they all sparked a new interest and fun way of gardening for me. Can’t wait to try some of these on the front and back porches in the warmer weather. Seems like a fun and different way to display some interesting annuals or succulents come spring and summer. Can’t wait!


For some fun Kokedama ideas, check out Pinterest. Or Google “Kokedama” to find some online tutorials.


Saturday, January 31, 2015

What Else Is Happening in the Greenhouse?

In the last post, I talked about my aloe that is blooming in the greenhouse. Here are some other plants of interest in the greenhouse.

This pink Cyclamen has been blooming for at least a month now. 


Also in bloom, the hanging Goldfish Plant.


I had taken some cuttings from a Coleus that had been in a pot on my front porch all season long last year. Most of the cuttings survived and are providing some lovely foliage color in the greenhouse.


Another plant with interesting foliage (and also edible!) is my Bright Lights Swiss Chard. I was using this one as a decorative plant mixed in with some annual flowers in a pot on the front porch. Only the Swiss Chard remains.


My Solanum Quitoense (Naranjilla) is STILL producing fruit. A bit speckled, though.


It also appears to be forming new leaves and flower buds, which I can only assume will lead to more fruit.


There are plenty more plants in the greenhouse than these. These just happen to be the most interesting right now.


Bloomin’ Aloe!

Last year I think I missed getting photos of my Candelabra Aloe blooming in the greenhouse, so this year I wanted to make sure to do it. I got this aloe about two or three years ago from Longwood Gardens. I had taken a class in tropical container planting. They had a bunch of plants leftover and so I grabbed this lonely aloe. I already re-potted it once and it has outgrown its pot yet again. I know nothing about caring for aloes and this just keeps getting taller...as well as more dangerous. The spiky leaves kinda hurt and I can’t even imagine trying to re-pot it again. Me against this aloe plant – I think the aloe will rip me apart.


The aloe is a winter bloomer. The blooms are somewhat reminiscent of Hot Poker plants. 


I broke out the macro lens adapters for some of these shots. The flower bud on this variety is orange and yellow with green tips.


Each tubular little flower looks trumpet-like when it opens.


I watered the plants this morning, so here is a tiny droplet on a flower. If you look closely, you can see other greenhouse plants reflected upside down in the water drop.


 Some of the flowers have flopped over.


It really is an interesting plant. The pretty flowers are really a contrast from the long, fleshy, spiky leaves that form snake-like tentacles.


I often refer to the aloe as my “Cousin It” plant or “My Little Monster” due to the haphazard look of it. That is unfair, though, given the beauty of the flowers.


Where Did December Go?

So apparently I didn’t take ANY garden photos in December. Not surprising since there isn’t much happening that time of the year, other than the birds attacking the bird feeder. I did do two blog posts in December, one about decorating with greens and the other about the plants in the greenhouse. I think this is the shortest blog post ever!

Friday, December 26, 2014

Decorating with Greens for the Holiday

I love decorating with live greens for Christmas. It’s my way of keeping the gardening spirit alive even in the colder months. Some years I’ve made boxwood tabletop topiaries, other times I’ve arranged greens in vases inside, or in pots or a pail on the porch, and I always make my own wreath (either from scratch or starting with a basic wreath of greens). I never remember to take photos for my blog, though, so this year I made sure I did.

My first purchase this year was a simple wreath made of just boxwood. I have always wanted a boxwood wreath and they are hard to come by in my area for some reason, or you’ll find them and they won’t look so great or they are really expensive. This year we happened to be at Terhune Orchards the weekend after Thanksgiving and I saw they had these beautiful boxwood wreaths at a very reasonable price and I couldn’t resist. I added a gold bow, a few pinecones and holly and viola, instant festive wreath – simple, yet elegant. (Don’t tell the neighbors, but I cut the holly from their holly tree that overhangs our yard – ssshhhhhh!)


The two-tiered pot by the front door stays there year-round, so I like to fill it with greens. (The pole with basket on top came from Kinsman Company.) I get lots of loose greens from Bartram’s Gardens. It has been an annual tradition for many, many years to go there with my mom. They have piles of loose greens and you stuff as much as you can into a brown bag and pay $10 for each bag. What a bargain!


This year I got some pretty magnolia leaves, blue spruce, and other greens from Bartram’s, plus the holly from my neighbor’s yard and some twigs from my own yard. There are pine cones tucked in here and there, too. Those drop into my yard from my neighbor’s pine tree. (I wonder if they know that two of their trees help me decorate from Christmas each year.) I decorated the rim of the top basket with silver Christmas balls this year.


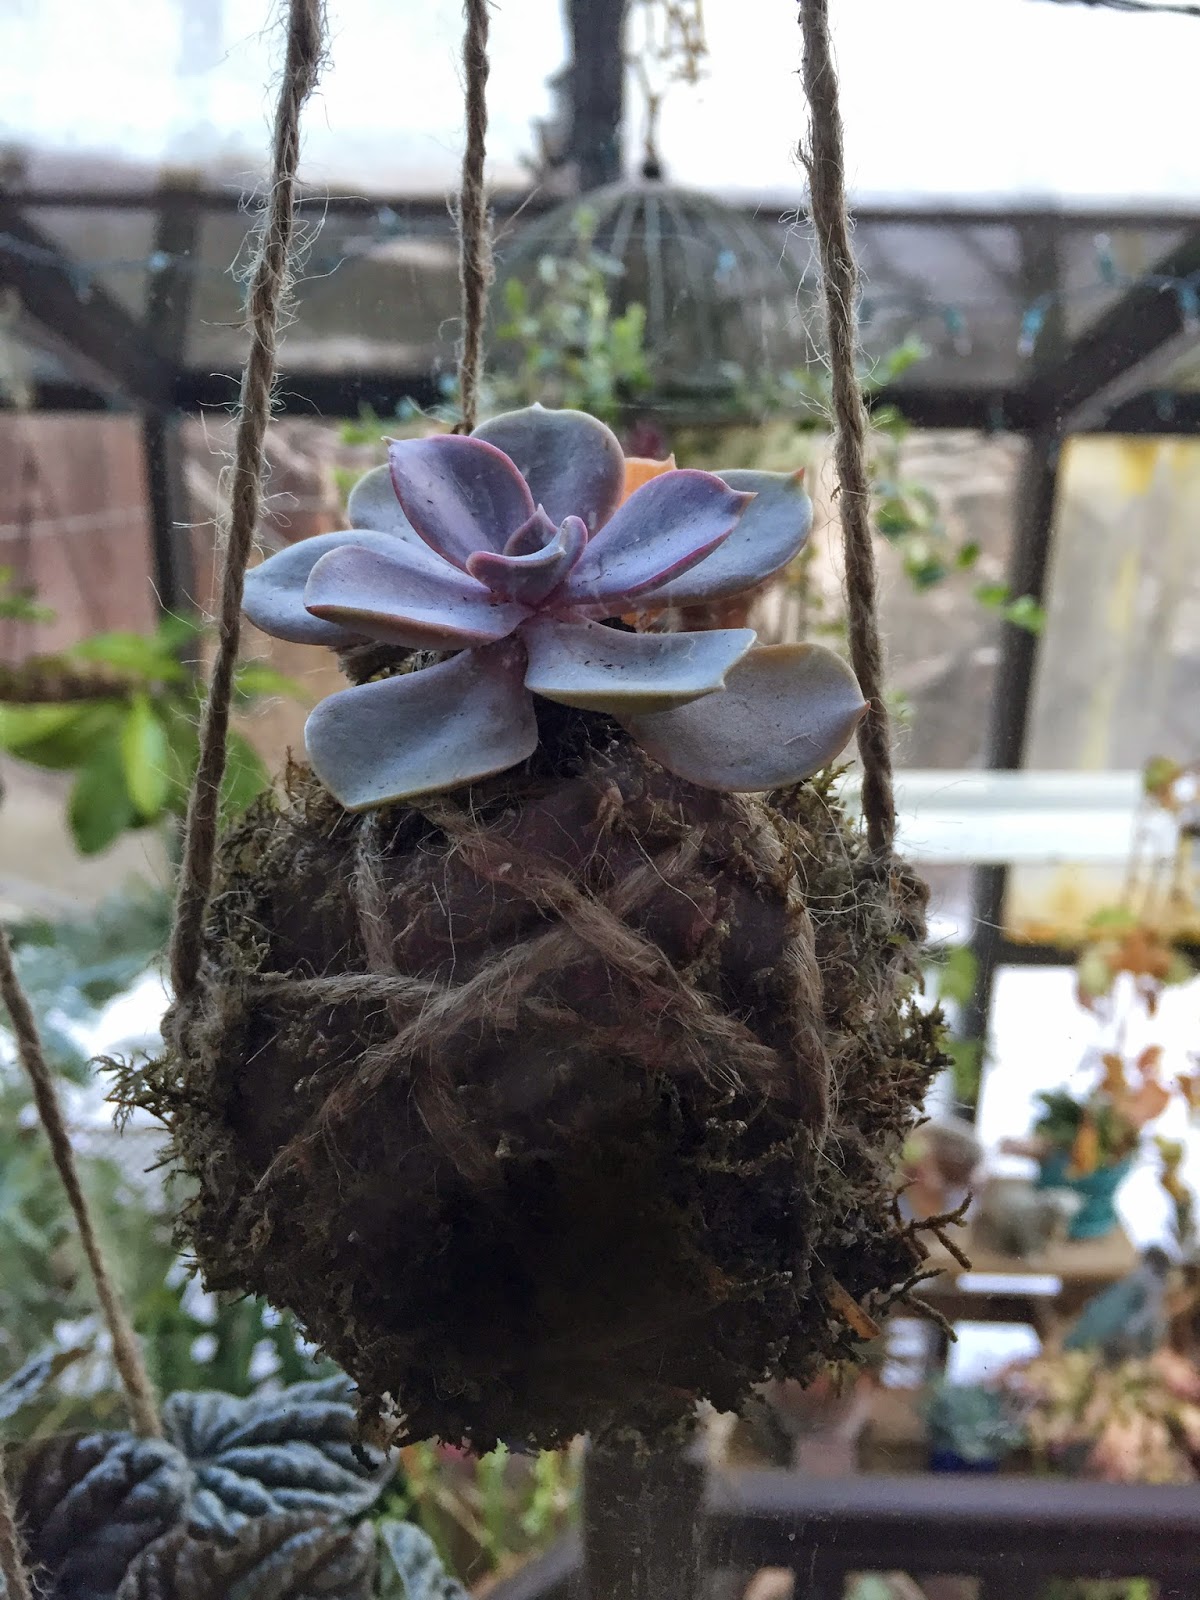
For two of my hanging baskets, I got this idea to fill them with greens. I had seen something similar at the Plow and Hearth store using fake greens and thought, hey, I can do that with real greens. Again, I decorated the rim with Christmas balls, this time silver and red. That was a last minute idea I had come up with.


We usually put a live Christmas tree on the front porch and decorate it with lights, beads, and Christmas balls. We ran out of time this year, so that is why you see the silver and red balls on the hanging baskets instead!

I like to add a little holiday cheer to the greenhouse, too. I keep strings of white lights in there all year round, but for Christmas I like a poinsettia or some other festive plant, besides the two Christmas Cactus plants and the Cyclamen that I always have. This year I found a Lemon Cypress at Whole Foods. The bright, green color really caught my eye.


I had made these candle decorations many years ago. They actually sit on my fireplace mantel the rest of the year. They are in little terra-cotta pots with dried flowers and mini pine cones.


I picked up the tradition from my mom of decorating the fireplace mantel with greens. I add lights and Christmas decorations.


I like to add animal decorations, sometimes made out of natural materials, so that it looks kind of like a little forest. This first little owl came from Plow and Hearth.


This stuffed bird on top of a pine cone and the two little reindeer below also came from Plow and Hearth.


We haven’t done a tree inside for the past few years, since we had our two cats, Molly and Izzy. My old cat, Montague, used to climb the tree when he was young, but stopped doing it when he was older. Izzy is a climber and I know she would be up that tree in a shot, and is big enough to take it down with her. So until she “matures” and we feel like we can trust her, no inside tree for us.

I will keep my decorations up for a little while longer, however, the cut greens do start to look dry after awhile. I enjoy it while it lasts. I hope you and yours had a happy holiday!