

The class was taught by Longwood Senior Gardener Lauren Hill. Lauren’s infectious personality made for a fun class. It was like combining arts and crafts with gardening. I loved it!
Kokedamas do not live very long, maybe a year or two, due to the small area for the root system, as well as due to the fact that these moss balls dry out quickly. Plants that do best in this situation are ones that can take it on the drier side.
The plants we used in class were (left to right) Peperomi caperata (Peperomia), Echeveria (Mexican Hens and Chicks), and Phalaenopsis hybrid (Moth Orchid). Some people had Hoya carnosa ‘Tricolor’ (Wax Plant) instead of the Peperomia.

Here are the steps we followed in class to create our Kokedama:
STEP 1: Take the plants out of their pots and take most of the soil off and loosen the roots.
STEP 2: Form a soil ball using a wet soil mix. Squeeze out excess water. Lauren had prepared the wet soil mix ahead of time: a half and half mix of field soil (referred to as garden soil if you are looking to buy it in a bag at your local nursery or box store) and potting mix soil. The garden soil is denser and helps the soil hold together in a ball form.

STEP 3: Open up the soil ball using your thumbs and then nestle the plant in and reform the soil ball around the plant’s roots. (This is trickier than it sounds and messy, too!)
STEP 4: Spread out a “sheet” of moss on the table, put the soil ball on top and then wrap the ball like a package with the moss. Leave some soil at the top where the plant is to help with watering. Any type of moss will do as long as it isn’t in pieces and is more like a sheet of moss stuck together.
STEP 5: Cut a long piece of string and wrap it around the soil ball. Leave a long enough piece at the beginning so you can use that to tie it. Be sure to wrap all sides and the bottom of the ball enough to hold it together, then tie tightly.

STEP 6: Trim up any loose moss hairs that are sticking out.
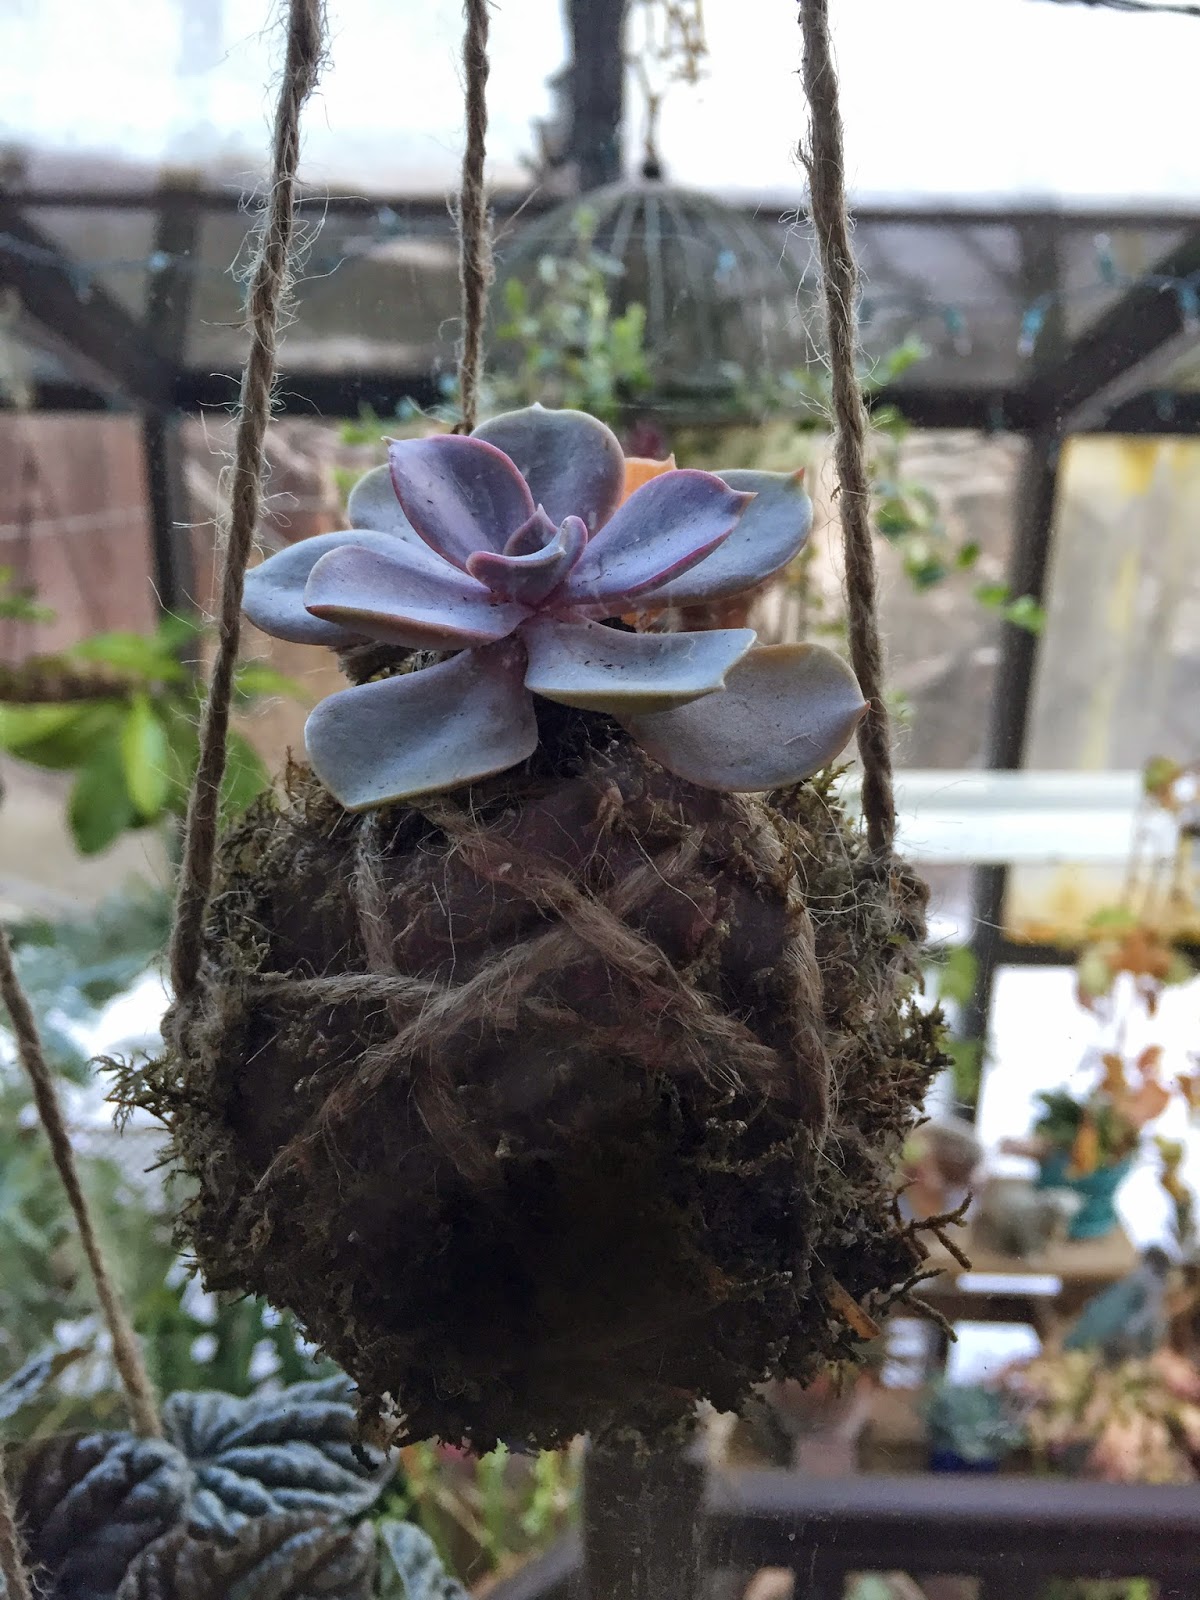
STEP 7: At this point you can leave it as is and use it in a dish as a table decoration or you can tie it for hanging. I tied mine for hanging. Some people created a type of hammock out of the string and others, like myself, cut two or three separate strings to attach to the strings of the ball. Those three strings are then tied together at the top and attached to another looped string for hanging.
STEP 8: Hang your Kokedama and enjoy it! It is best to hang them on a hanging plant hook or S hook so you can easily remove them for watering. Kokedamas seem to look best in groupings of three hung at different lengths. For now I have mine hung in one of the greenhouse windows, where I can see it from the family room. I wish I could hang these in the bay window of the family room, but am too afraid my cats would think they were cat toys!

STEP 9: To keep your Kokedama living as long as possible, they need to be soaked in a bucket of water with a small, diluted amount of house plant fertilizer once a week.
I have so much fun learning new ways of working with plants. From Kokedama class to crevice gardening, vertical gardening, and carnivorous plants classes – they all sparked a new interest and fun way of gardening for me. Can’t wait to try some of these on the front and back porches in the warmer weather. Seems like a fun and different way to display some interesting annuals or succulents come spring and summer. Can’t wait!
For some fun Kokedama ideas, check out Pinterest. Or Google “Kokedama” to find some online tutorials.
No comments:
Post a Comment